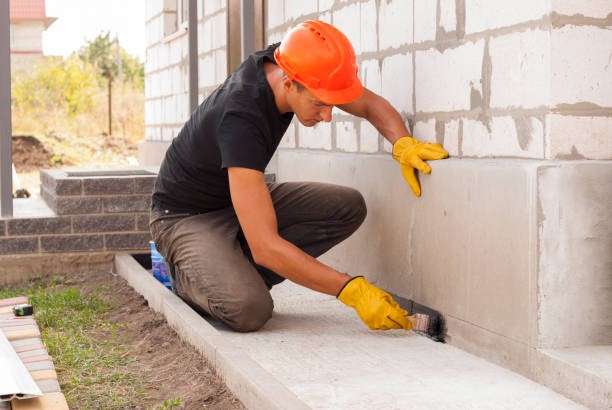
Protecting your basement from moisture and water damage is essential for a healthy, sturdy home. Here’s an extended guide on how to seal basement walls effectively:
Initial Inspection:
- Identify Issues: Look for cracks, holes, or any signs of previous water damage.
- Evaluate the Extent: Determine if professional help is needed for major repairs.
Thorough Cleaning:
- Remove Debris: Clean the walls thoroughly to ensure the sealant adheres properly.
- Address Mold or Mildew: If present, use a mold-killing solution.
Selecting the Right Sealant:
- Types of Sealants: Understand the differences between waterproof paint, concrete sealers, and other options.
- Consider the Wall Material: Different materials may require specific types of sealants.
Preparation for Application:
- Safety First: Wear protective gear like gloves and masks.
- Tool Selection: Have brushes, rollers, or sprayers ready, depending on the sealant type.
Applying the Sealant:
- Follow Instructions: Each product has unique application methods; follow them closely.
- Even Application: Ensure a uniform layer across all areas.
Drying and Curing:
- Patience is Key: Allow ample time for the sealant to dry completely.
- Ventilation: Ensure good airflow to aid in drying.
Post-Application Check:
- Inspect Work: Look for missed spots or uneven layers.
- Touch-Up if Necessary: Apply additional sealant as needed.
Ongoing Maintenance:
- Regular Checks: Periodically inspect the walls for any new cracks or moisture.
- Reapply as Needed: Over time, you may need to reseal certain areas.
Remember, sealing basement walls is an investment in your home’s longevity and comfort. While it’s a manageable DIY project for minor issues, don’t hesitate to seek professional help for extensive problems or if you’re unsure about the process. By following these steps, you can ensure a more secure and dry basement, enhancing the overall health and value of your home.


